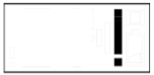
If the temperature is displayed in addition to the “!”, read this article.
This error means that the Radiator Valve was unable to calibrate 3 times in a row. The Valve is unreachable, cannot be controlled and the radiator remains open.
We recommend checking all the points in the list below, in order, to get the Radiator Valve working again.
1. Contact adhesive
Make sure that the metal adhesive is properly stuck to the inside of the battery cover. This tape improves the conductivity and, therefore, the battery life.
It shouldn’t be bent or damaged, and the batteries must not come into contact with the adhesive (insulating) part of the tape.
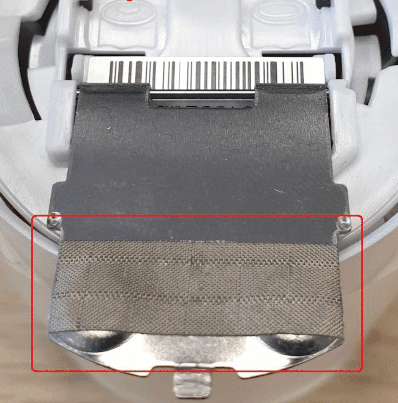
If the strip is damaged, send us a message.
2. Radiator valve body
A valve body piston that is difficult to push results in higher energy consumption. It can even cause calibration errors if it’s seized or has an uneven stroke.
We recommend checking the valve bodies of all your radiators regularly. To do so, dismantle the Radiator Valve, then check the following areas of the valve body.
- Visually: there should be no traces of rust or oxidation, which would indicate a leak. If that’s the case, consider getting a new valve body.
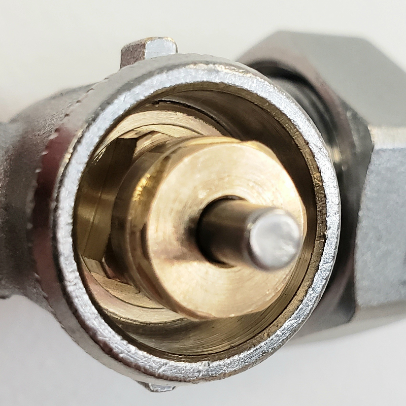
Valve body in good condition / Rusty valve body / Oxidised valve body
- Functionally: press the valve body piston when the radiator is on. It should move smoothly from one stop to the other, without any hard parts (higher resistance during the stroke). It’s recommended to lubricate it with silicone grease to minimise friction and ensure that it works optimally and for a long time.
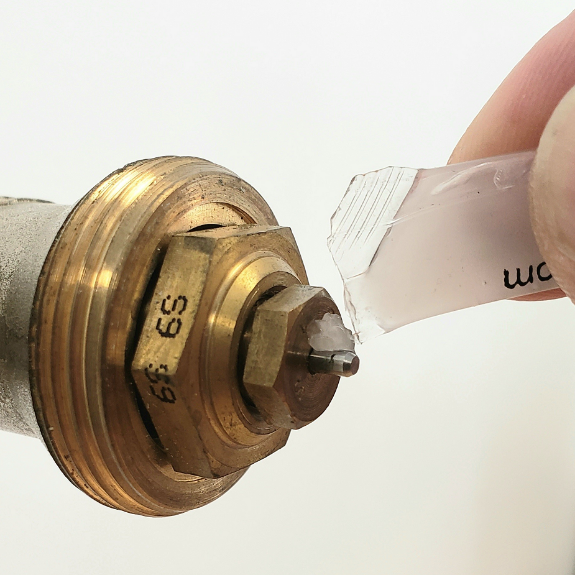
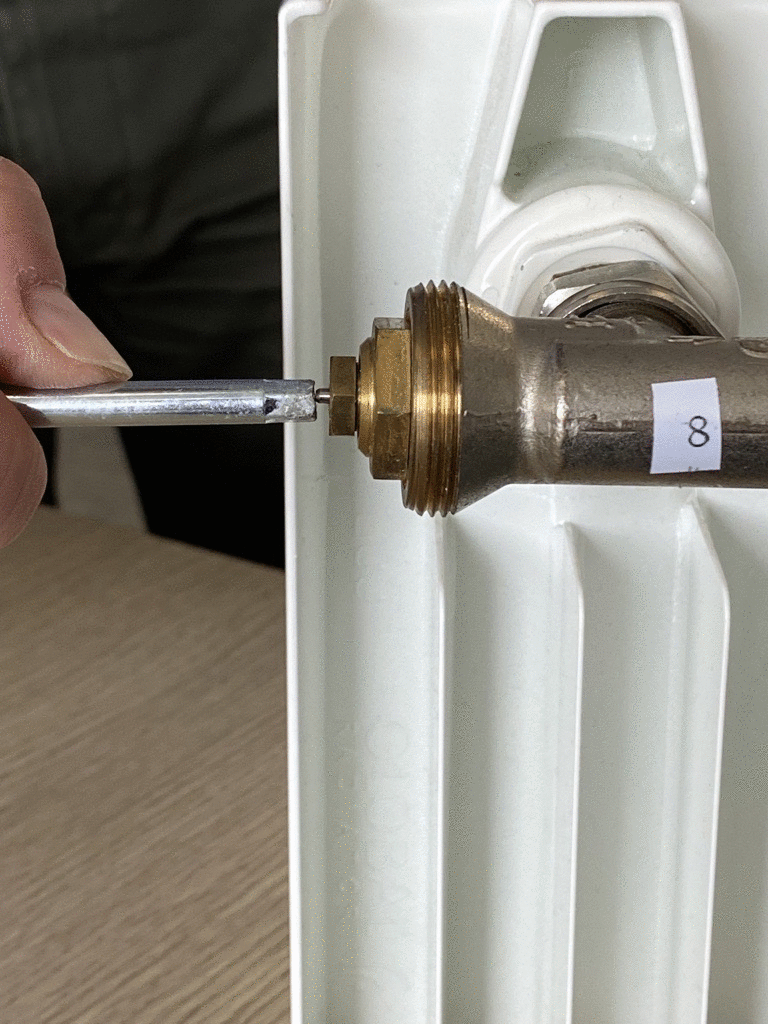
Applying silicone grease / Valve body piston test
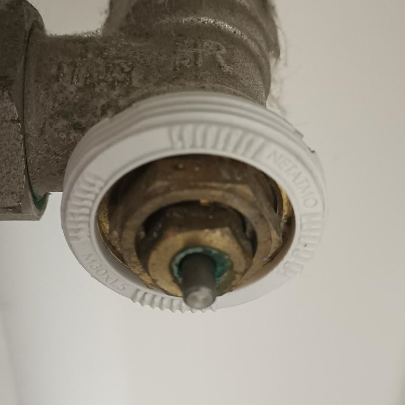
3. Cross test
This test lets you determine whether the malfunction is related to the Radiator Valve or the valve body. If one of the Radiator Valves shows “!”, we recommend that you swap it with one of your other Radiator Valves that doesn’t show the error, after removing and replacing the batteries.
- If the Radiator Valve from another radiator also shows the “!” after the swap, then the valve body is malfunctioning. Contact a heating engineer to check your heating system and possibly replace the valve body.
- If the Radiator Valve shows “!” even when it’s installed on another radiator, please send us a message.
4. Hot water circuit
A poorly maintained circuit can prevent the Radiator Valves from working properly.
Check the how water circuit:
- Its pressure must be within the standards defined by your heating engineer.
- If possible, reduce the water flow rate to reduce the pressure required to close the Radiator Valve.
- Maintenance checks must be carried out regularly:
- Bleeding
- Desludging
- Descaling
Ask your heating engineer for help if needed.
5. Batteries
If you’ve checked all the previous points, remove the batteries, wait a minute, then put them back into the Radiator Valve. If the problem persists, try again with new, non-rechargeable, quality, non-expired 1.5V alkaline batteries. You can also use 1.5V lithium batteries (non-rechargeable).
Updated